
相关数字 Flutter
此库是 Related Digital 的官方 Flutter SDK。
要求
- iOS 10.0 或更高版本
- Android API 级别 21 或更高版本
安装
- 编辑项目的
pubspec.yaml文件
dependencies:
    relateddigital_flutter: ^0.2.1
-
运行
flutter pub get -
导入包
import 'package:relateddigital_flutter/relateddigital_flutter.dart';
平台集成
Android
- 将以下行添加到
project/build.gradle的repositories部分
maven {url 'http://developer.huawei.com/repo/'} // skip if your app does not support HMS
- 将以下行添加到
project/build.gradle的dependencies部分
classpath 'com.google.gms:google-services:4.3.5'
classpath 'com.huawei.agconnect:agcp:1.4.1.300' // skip if your app does not support HMS
- 将以下行添加到
app/build.gradle的末尾
apply plugin: 'com.google.gms.google-services'
apply plugin: 'com.huawei.agconnect' // skip if your app does not support HMS
-
将 `minSdkVersion` 更改为 21。
-
将以下服务添加到您的
AndroidManifest.xml文件中,放在<application></application>标签内。
<service
   android:name="euromsg.com.euromobileandroid.service.EuroFirebaseMessagingService"
   android:exported="false">
   <intent-filter>
       <action android:name="com.google.firebase.MESSAGING_EVENT" />
   </intent-filter>
</service>
<!-- skip if your app does not support HMS  -->
<service
   android:name="euromsg.com.euromobileandroid.service.EuroHuaweiMessagingService"
   android:exported="false">
   <intent-filter>
       <action android:name="com.huawei.push.action.MESSAGING_EVENT" />
   </intent-filter>
</service>
- 将以下元数据参数添加到您的 AndroidManifest.xml 文件中
<meta-data android:name="VisilabsOrganizationID" android:value="VisilabsOrganizationID" />
<meta-data android:name="VisilabsSiteID" android:value="VisilabsSiteID" />
<meta-data android:name="VisilabsSegmentURL" android:value="http://lgr.visilabs.net" />
<meta-data android:name="VisilabsDataSource" android:value="VisilabsDataSource" />
<meta-data android:name="VisilabsRealTimeURL" android:value="http://rt.visilabs.net" />
<meta-data android:name="VisilabsChannel" android:value="Android" />
<meta-data android:name="VisilabsGeofenceURL" android:value="http://s.visilabs.net/geojson" />
<meta-data android:name="VisilabsGeofenceEnabled" android:value="true" />

<!-- Parameters below are optional -->

<meta-data android:name="VisilabsRequestTimeoutInSeconds" android:value="30" />
<meta-data android:name="VisilabsRESTURL" android:value="VisilabsRESTURL" />
<meta-data android:name="VisilabsEncryptedDataSource" android:value="VisilabsEncryptedDataSource" />
<meta-data android:name="VisilabsTargetURL" android:value="http://s.visilabs.net/json" />
<meta-data android:name="VisilabsActionURL" android:value="http://s.visilabs.net/actjson" />
-
将
google-services.json文件添加到您应用程序的app目录中。 -
如果您的应用支持
HMS,请将agconnect-services.json文件添加到您应用程序的app目录中。
iOS
- 在
Podfile中将 iOS 平台版本更改为 10.0 或更高版本
platform :ios, '10.0'
-
在您的项目目录中,使用 Xcode 打开文件
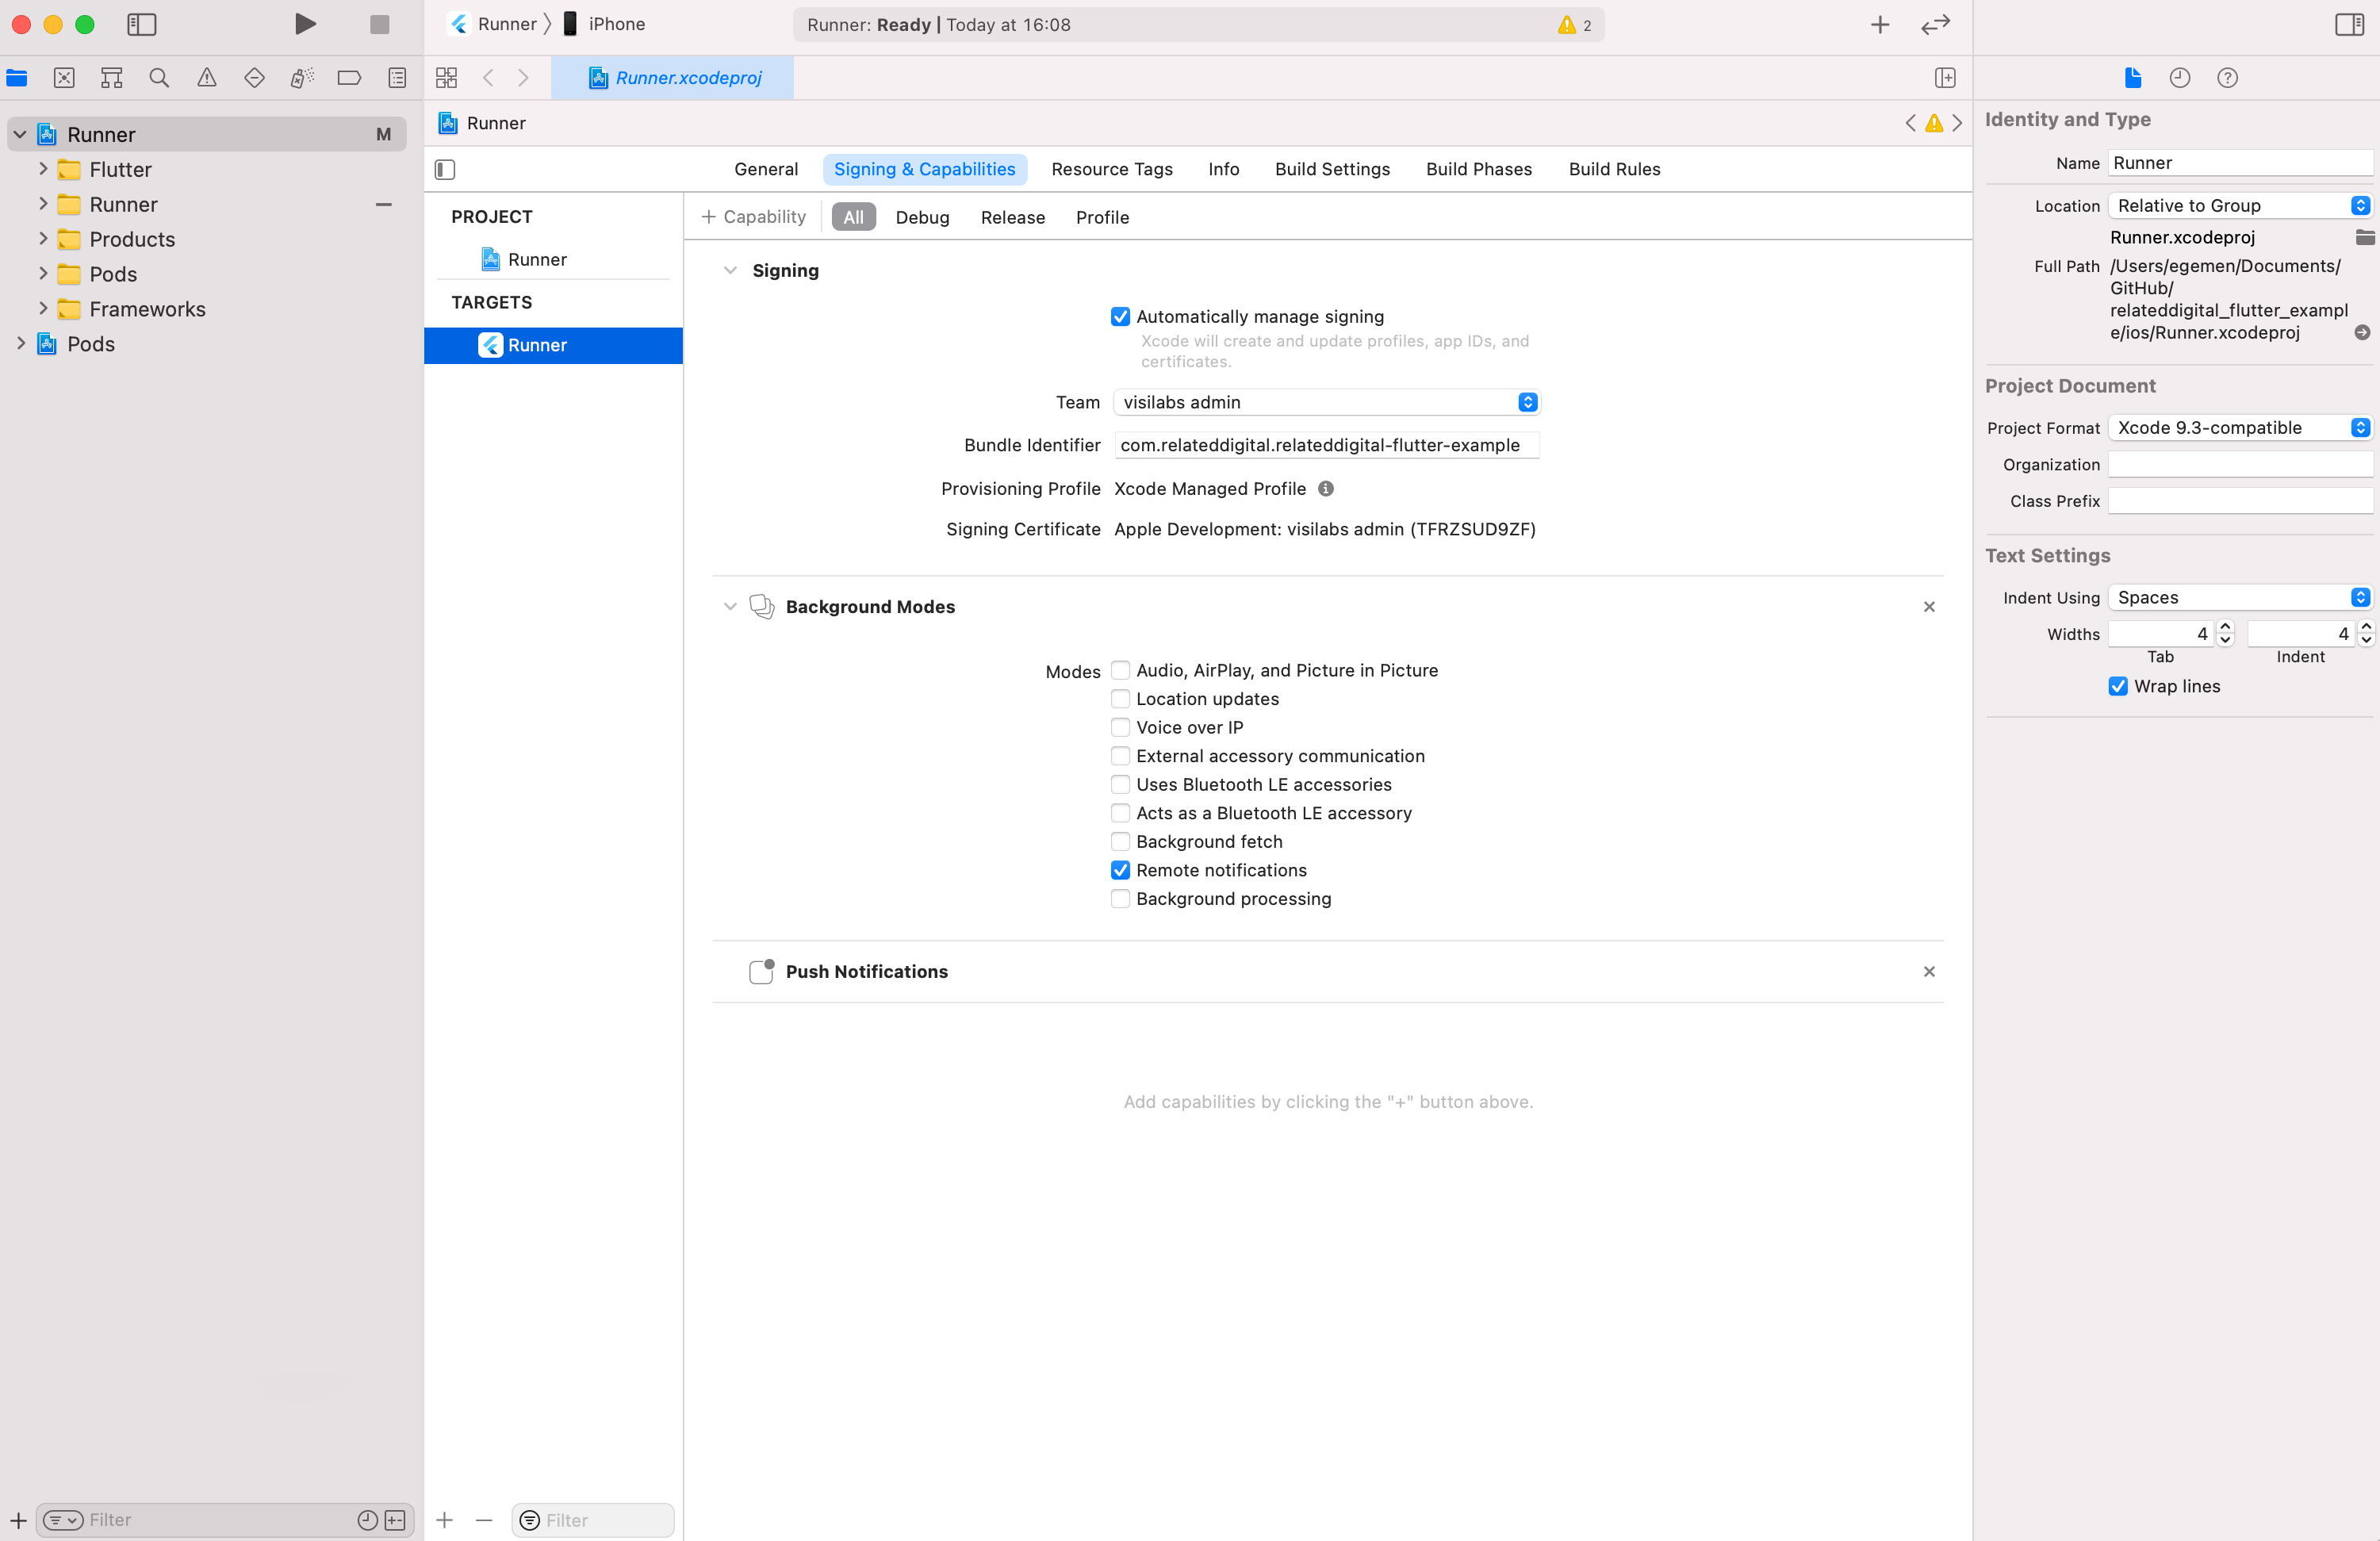
ios/Runner.xcworkspace。 -
启用
推送通知和后台模式 -> 远程通知功能。
- 如果您想使用 AdvertisingTrackingID 和 isIDFAEnabled 参数(请参阅下面的 用法),则需要为 iOS 14 及更高版本将此键添加到您的 Info.plist 文件中。
<key>NSUserTrackingUsageDescription</key>
<string>We use advertising identifier!</string>
用法
初始化
导入库
import 'package:relateddigital_flutter/relateddigital_flutter.dart';
import 'package:relateddigital_flutter/request_models.dart';
import 'package:relateddigital_flutter/response_models.dart';
初始化库
final RelateddigitalFlutter relatedDigitalPlugin = RelateddigitalFlutter();

@override
void initState() {
  super.initState();
  initLib();
}

Future<void> initLib() async {
  var initRequest = RDInitRequestModel(
    appAlias: Platform.isIOS ? 'ios-alias' : 'android-alias',
    huaweiAppAlias: 'huawei-alias', // pass empty String if your app does not support HMS
    androidPushIntent: 'com.test.MainActivity', // Android only
    organizationId: 'ORG_ID',
    siteId: 'SITE_ID',
    dataSource: 'DATA_SOURCE',
    maxGeofenceCount: 20,  // iOS only
    geofenceEnabled: true,
    inAppNotificationsEnabled: true,
    logEnabled: true,
    isIDFAEnabled: true,  // iOS only
  );

  await relatedDigitalPlugin.init(initRequest, _readNotificationCallback);
}

void _readNotificationCallback(dynamic result) {
  print(result);
}
推送通知
请求权限 & 获取 Token
添加以下行以请求推送通知权限并获取 token。
iOS
- 与其提示用户发送推送通知的权限,不如您的应用可以请求临时授权。为了启用临时授权,您应该将
requestPermission方法的isProvisional参数设置为true。
String token = '-';

void _getTokenCallback(RDTokenResponseModel result) {
  if(result != null && result.deviceToken != null && result.deviceToken.isNotEmpty) {
    setState(() {
      token = result.deviceToken;
    });
  }
  else {
    setState(() {
      token = 'Token not retrieved';
    });
  }
}

Future<void> requestPermission() async {
  await relatedDigitalPlugin.requestPermission(_getTokenCallback, isProvisional: true);
}
富媒体推送通知
要接收带有图片、按钮和徽章的富媒体通知,请按照以下步骤操作。
iOS
- 在 Xcode 中,添加一个新的 **通知服务扩展** 目标,并将其命名为 **NotificationService**。
- 在您的 podfile 中,添加以下部分,然后运行
pod install。
target 'NotificationService' do
	use_frameworks!
	pod 'Euromsg'
end

post_install do |installer|
  installer.pods_project.targets.each do |target|
    flutter_additional_ios_build_settings(target)
    target.build_configurations.each do |config|
		config.build_settings['APPLICATION_EXTENSION_API_ONLY'] = 'No'
	end
  end
end
- 将 **NotificationService** 目标部署目标设置为 iOS 11。
- 用以下代码替换 **NotificationService.swift** 文件内容。
import UserNotifications
import Euromsg

class NotificationService: UNNotificationServiceExtension {

		var contentHandler: ((UNNotificationContent) -> Void)?
		var bestAttemptContent: UNMutableNotificationContent?

		override func didReceive(_ request: UNNotificationRequest, withContentHandler contentHandler: @escaping (UNNotificationContent) -> Void) {
				self.contentHandler = contentHandler
				bestAttemptContent = (request.content.mutableCopy() as? UNMutableNotificationContent)
				Euromsg.didReceive(bestAttemptContent, withContentHandler: contentHandler)
		}

		override func serviceExtensionTimeWillExpire() {
				// Called just before the extension will be terminated by the system.
				// Use this as an opportunity to deliver your "best attempt" at modified content, otherwise the original push payload will be used.
				if let contentHandler = contentHandler, let bestAttemptContent =  bestAttemptContent {
						Euromsg.didReceive(bestAttemptContent, withContentHandler: contentHandler)
				}
		}

}
轮播推送通知
要接收带有轮播的推送通知,请按照以下步骤操作。
iOS
- 在 Xcode 中,添加一个新的 **通知内容扩展** 目标,并将其命名为 **NotificationContent**。
- 在您的 podfile 中,添加以下部分,然后运行
pod install。
target 'NotificationContent' do
	use_frameworks!
	pod 'Euromsg'
end
- 将 **NotificationContent** 目标部署目标设置为 iOS 11。
- 删除 MainInterface.storyboard 和 NotificationContent.swift 文件。然后,在 NotificationContent 文件夹下创建一个名为 EMNotificationViewController.swift 的 swift 文件。
- 用以下代码替换 **EMNotificationViewController.swift** 文件内容。
import UIKit
import UserNotifications
import UserNotificationsUI
import Euromsg

@available(iOS 10.0, *)
@objc(EMNotificationViewController)
class EMNotificationViewController: UIViewController, UNNotificationContentExtension {

		let appUrl = URL(string: "euromsgExample://")
		let carouselView = EMNotificationCarousel.initView()
		var completion: ((_ url: URL?, _ userInfo: [AnyHashable: Any]?) -> Void)?
		func didReceive(_ notification: UNNotification) {
				carouselView.didReceive(notification)
		}
		func didReceive(_ response: UNNotificationResponse,
										completionHandler completion: @escaping (UNNotificationContentExtensionResponseOption) -> Void) {
				carouselView.didReceive(response, completionHandler: completion)
		}
		override func loadView() {
				completion = { [weak self] url, userInfo in
						if let url = url {
								self?.extensionContext?.open(url)
								if url.scheme != self?.appUrl?.scheme, let userInfo = userInfo {
										Euromsg.handlePush(pushDictionary: userInfo)
								}
						}
						else if let url = self?.appUrl {
								self?.extensionContext?.open(url)
						}
				}
				carouselView.completion = completion
				//Add if you want to track which element has been selected
				carouselView.delegate = self
				self.view = carouselView
		}
}

/**
 Add if you want to track which carousel element has been selected
 */
extension EMNotificationViewController: CarouselDelegate {

		func selectedItem(_ element: EMMessage.Element) {
				//Add your work...
				print("Selected element is => \(element)")
		}

}
- 在您的 NotificationContent/Info.plist 文件中添加以下部分
<key>NSExtension</key>
<dict>
    <key>NSExtensionAttributes</key>
    <dict>
        <key>UNNotificationExtensionCategory</key>
        <string>carousel</string>
        <key>UNNotificationExtensionDefaultContentHidden</key>
        <false />
        <key>UNNotificationExtensionInitialContentSizeRatio</key>
        <real>1</real>
        <key>UNNotificationExtensionUserInteractionEnabled</key>
        <true />
    </dict>
    <key>NSExtensionPointIdentifier</key>
    <string>com.apple.usernotifications.content-extension</string>
    <key>NSExtensionPrincipalClass</key>
    <string>NotificationContent.EMNotificationViewController</string>
</dict>
设置推送许可
您只能调用 setNotificationPermission 方法来启用或禁用应用程序的推送通知。
relatedDigitalPlugin.setNotificationPermission(true);
数据收集
Related Digital 使用事件来收集移动应用程序中的数据。开发者需要实现 SDK 提供的各种方法。customEvent 是一个通用的方法,用于跟踪用户事件。customEvent 接受 2 个参数:pageName 和 properties。
- pageName:您应用程序的当前页面。如果您的事件与页面视图无关,则应传递与事件相关的名称。如果您传递一个空的 **String**,该事件将被视为无效并被丢弃。
- parameters:与事件相关的键/值对集合。如果您的事件除了页面名称外没有其他数据,传递一个空的 **Map** 也是可接受的。
一些最常见的事件
注册
String userId = 'userId';
// optional
Map<String, String> properties = {
  'OM.b_sgnp':'1'
};

await relatedDigitalPlugin.signUp(userId, properties: properties);
登录
String userId = 'userId';
// optional
Map<String, String> properties = {
  'OM.b_login':'1'
};

await relatedDigitalPlugin.login(userId, properties: properties);
页面浏览
使用 customEvent 方法的以下实现来记录访问者当前正在查看的页面名称。您可以向 properties **Map** 添加额外的参数,或者将其留空。
String pageName = 'Page Name';
Map<String, String> parameters = {};
await relatedDigitalPlugin.customEvent(pageName, parameters);
产品视图
当用户在移动应用中展示产品时,请使用 customEvent 的以下实现。
String pageName = 'Product View';
Map<String, String> parameters = {
  'OM.pv' : productCode,
  'OM.pn' : productName,
  'OM.ppr' : productPrice,
  'OM.pv.1' : productBrand,
  'OM.inv': inventory // Number of items in stock
};
relatedDigitalPlugin.customEvent(pageName, parameters);
添加到购物车
当用户将商品添加到购物车或从中移除时,请使用 customEvent 的以下实现。
String pageName = 'Cart';
Map<String, String> parameters = {
  'OM.pbid' : basketID,
  'OM.pb' : 'Product1 Code;Product2 Code',
  'OM.pu' : 'Product1 Quantity;Product2 Quantity',
  'OM.ppr' : 'Product1 Price*Product1 Quantity;Product2 Price*Product2 Quantity'
};
relatedDigitalPlugin.customEvent(pageName, parameters);
产品购买
当用户购买一件或多件商品时,请使用 customEvent 的以下实现。
String pageName = 'Purchase';
Map<String, String> parameters = {
  'OM.tid' : transactionID,
  'OM.pp' : 'Product1 Code;Product2 Code',
  'OM.pu' : 'Product1 Quantity;Product2 Quantity',
  'OM.ppr' : 'Product1 Price*Product1 Quantity;Product2 Price*Product2 Quantity',
  'OM.exVisitorID' : userId
};
relatedDigitalPlugin.customEvent(pageName, parameters);
产品类别页面视图
当用户查看类别列表页面时,请使用 customEvent 的以下实现。
String pageName = 'Category View';
Map<String, String> parameters = {
  'OM.clist': '12345',
};
relatedDigitalPlugin.customEvent(pageName, parameters);
应用内搜索
如果移动应用具有搜索功能,请使用 customEvent 的以下实现。
String pageName = 'In App Search';
Map<String, String> parameters = {
  'OM.OSS': searchKeyword,
  'OM.OSSR': searchResult.length,
};
relatedDigitalPlugin.customEvent(pageName, parameters);
横幅点击
您可以使用 customEvent 的以下实现来监控横幅点击数据。
String pageName = 'Banner Click';
Map<String, String> parameters = {
  'OM.OSB': 'Banner Name/Banner Code',
};
relatedDigitalPlugin.customEvent(pageName, parameters);;
添加到收藏夹
当用户将产品添加到收藏夹时,请使用 customEvent 的以下实现。
String pageName = 'Add To Favorites';
Map<String, String> parameters = {
  'OM.pf' : productCode,
  'OM.pfu' : '1',
};
relatedDigitalPlugin.customEvent(pageName, parameters);
从收藏夹移除
当用户从收藏夹中移除产品时,请使用 customEvent 的以下实现。
String pageName = 'Add To Favorites';
Map<String, String> parameters = {
  'OM.pf' : productCode,
  'OM.pfu' : '-1',
};
relatedDigitalPlugin.customEvent(pageName, parameters);
登出
要从本地存储中删除所有用户相关数据,请使用以下方法。
await relatedDigitalPlugin.logout();
定向操作
应用内消息
应用内消息 是当用户积极使用您的移动应用时发送给他们的通知。要启用 **应用内消息** 功能,您需要在调用 init 初始化 SDK 时将 inAppNotificationsEnabled 参数的值设置为 true。
是否显示与事件相关的 **应用内消息** 是在每次调用 customEvent 后控制的。您可以在 RMC 管理面板的 https://intelligence.relateddigital.com/#Target/TargetingAction/TAList 页面创建和自定义您的 **应用内消息**。
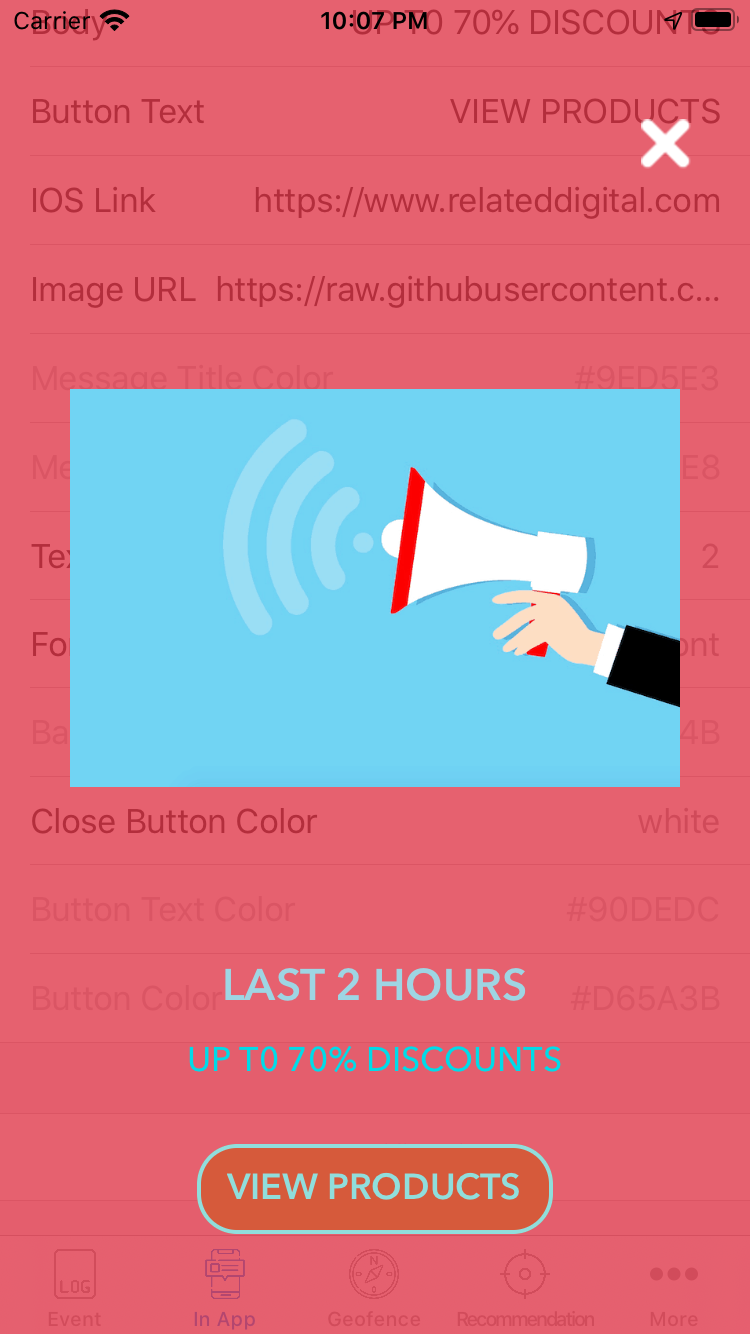
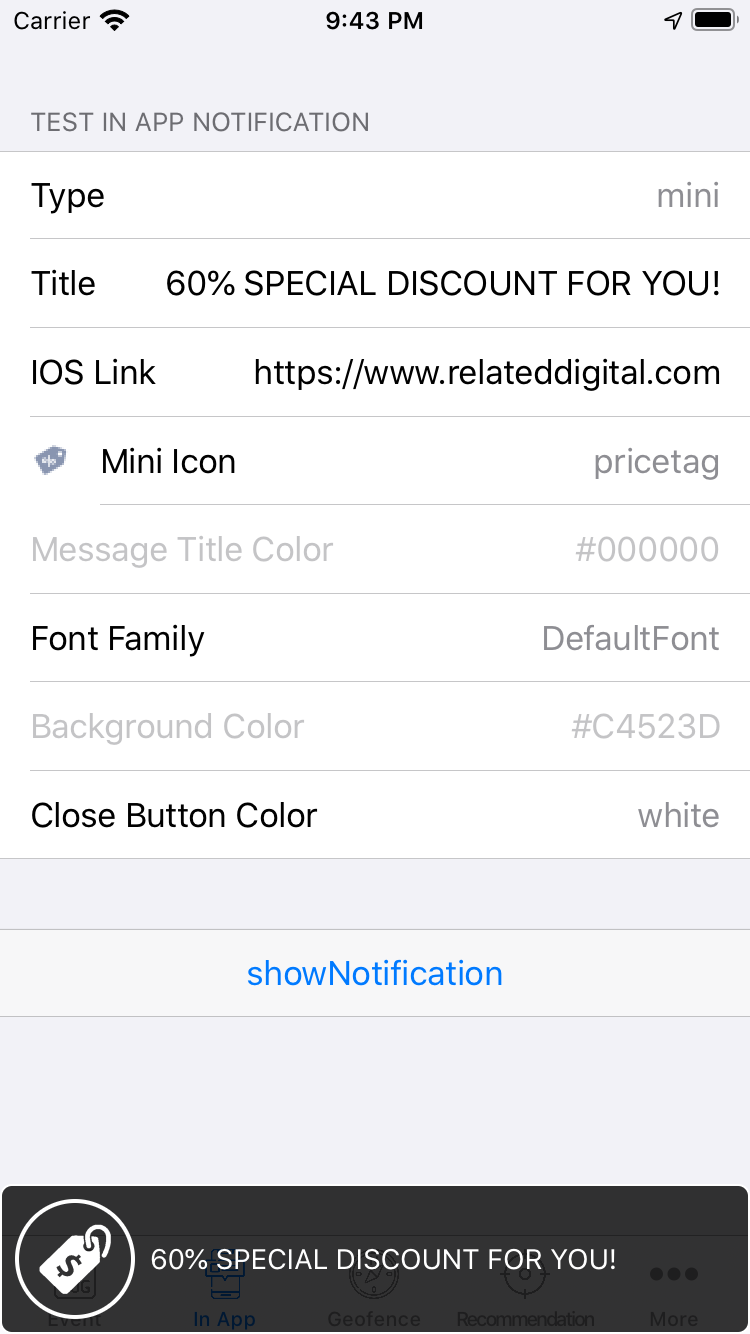
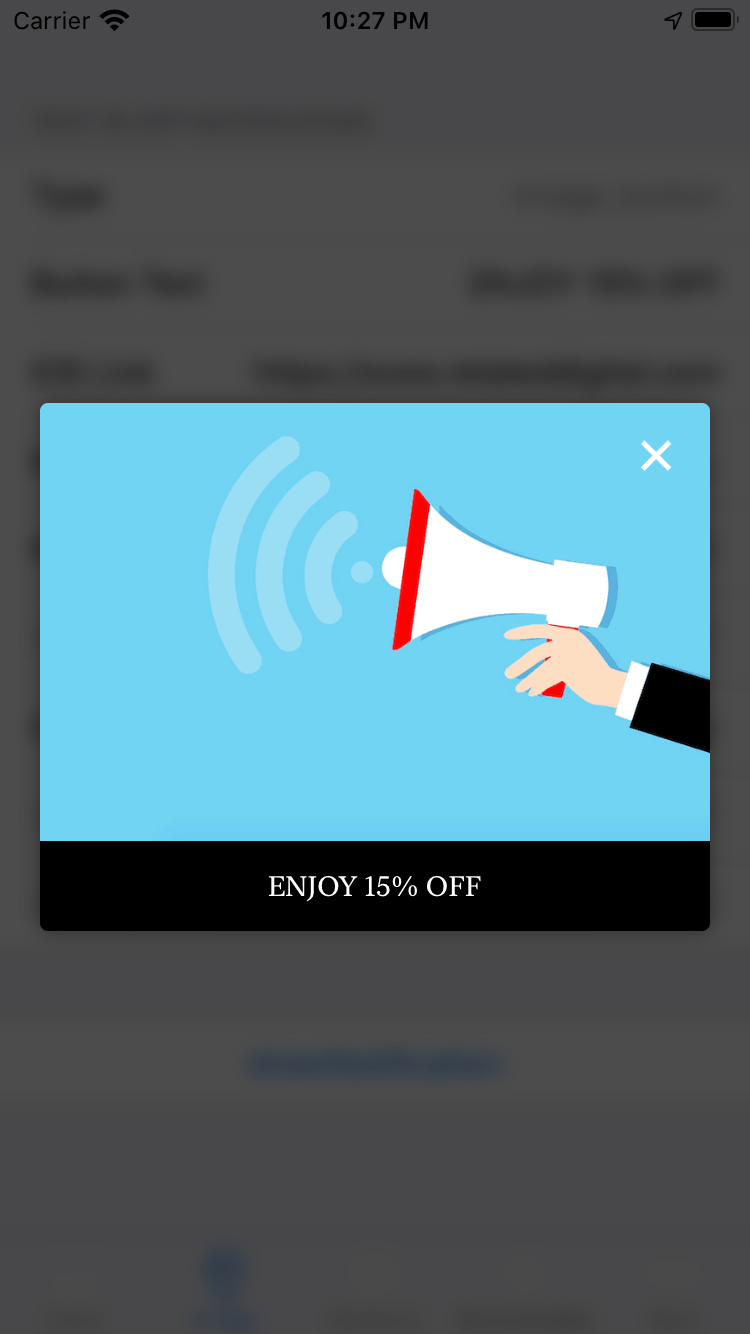
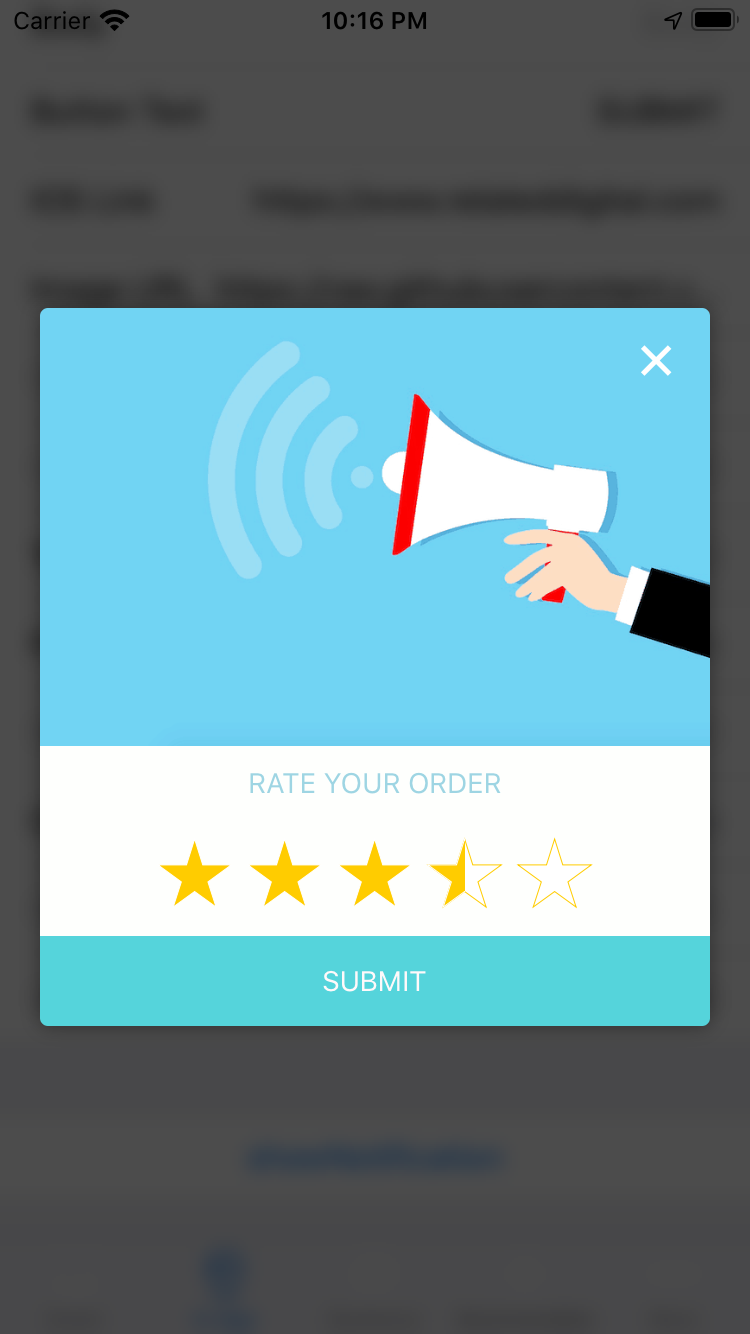
共有 9 种类型的 **应用内消息**
| 弹出窗口 - 图片、标题、文本 & 按钮 | 迷你图标 & 文本 | 全屏 - 图片 |
|---|---|---|
 |
 |
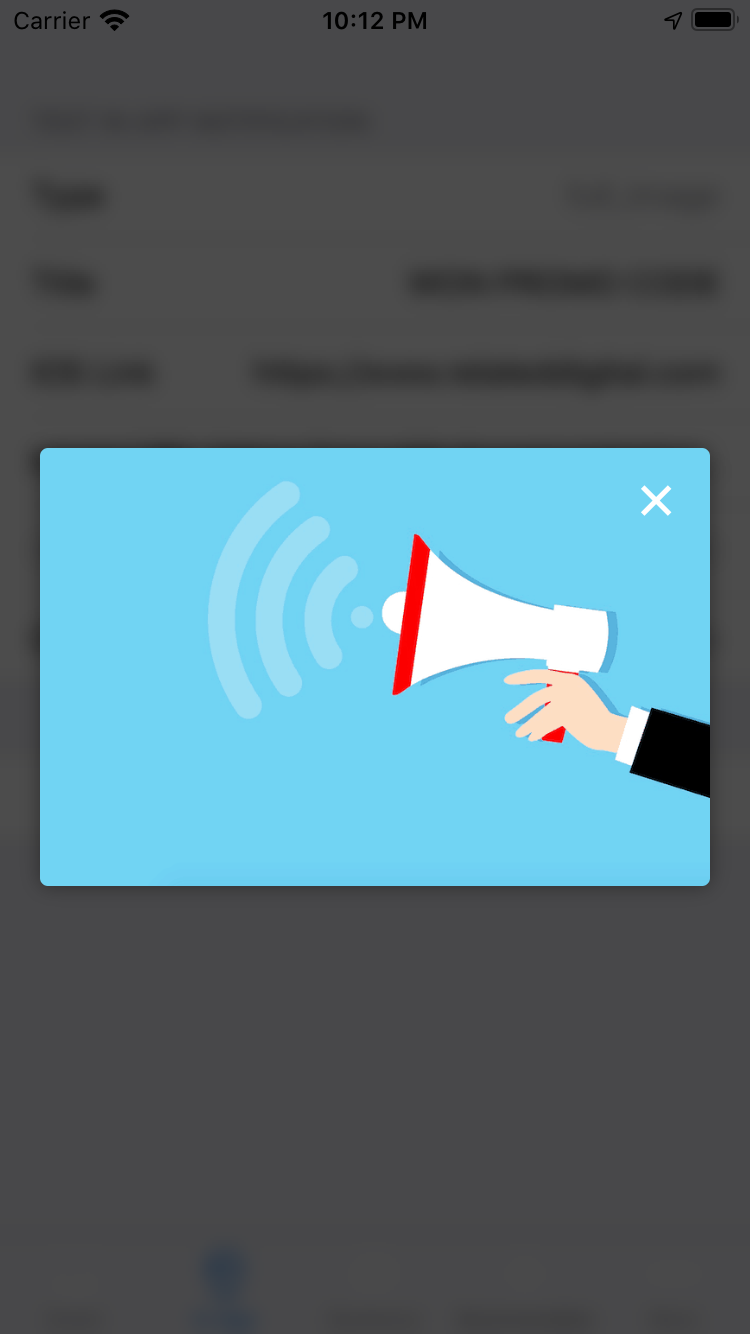 |
| 全屏 - 图片 & 按钮 | 弹出窗口 - 图片、标题、文本 & 按钮 | 弹出窗口 - 调查 |
 |
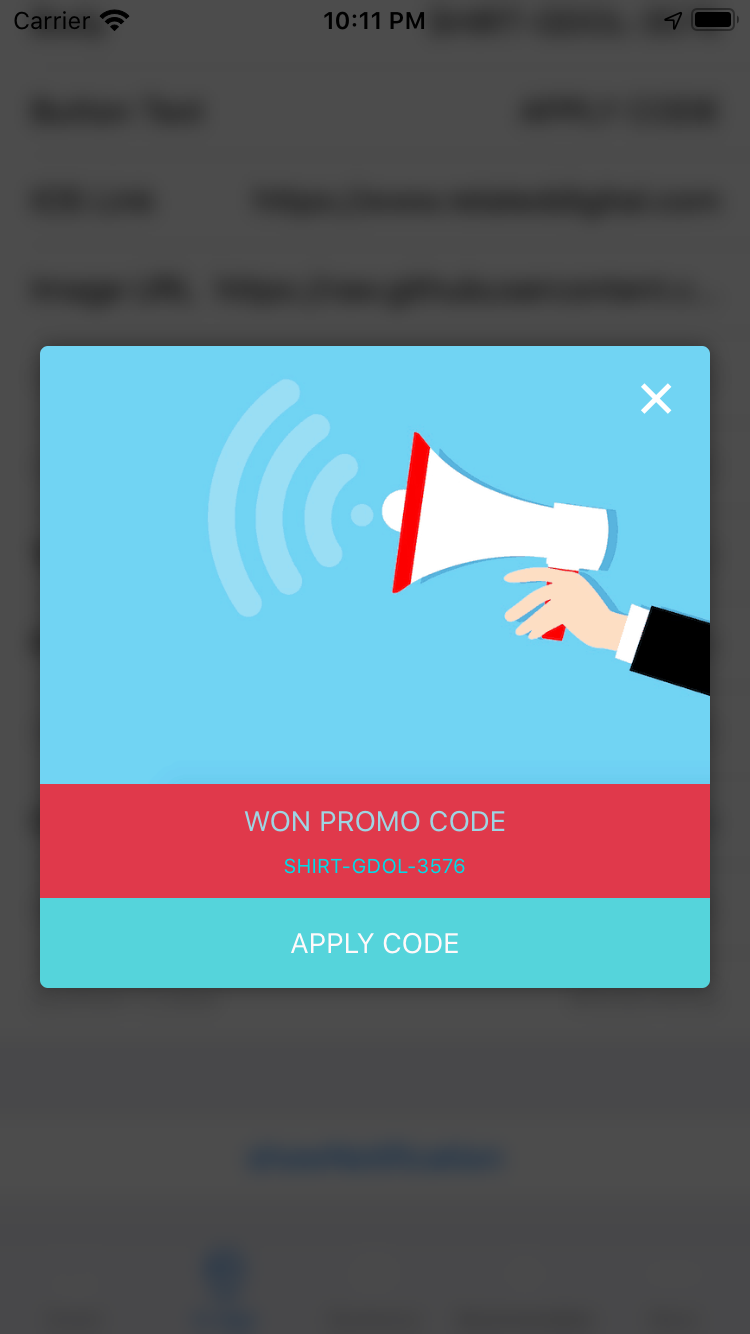 |
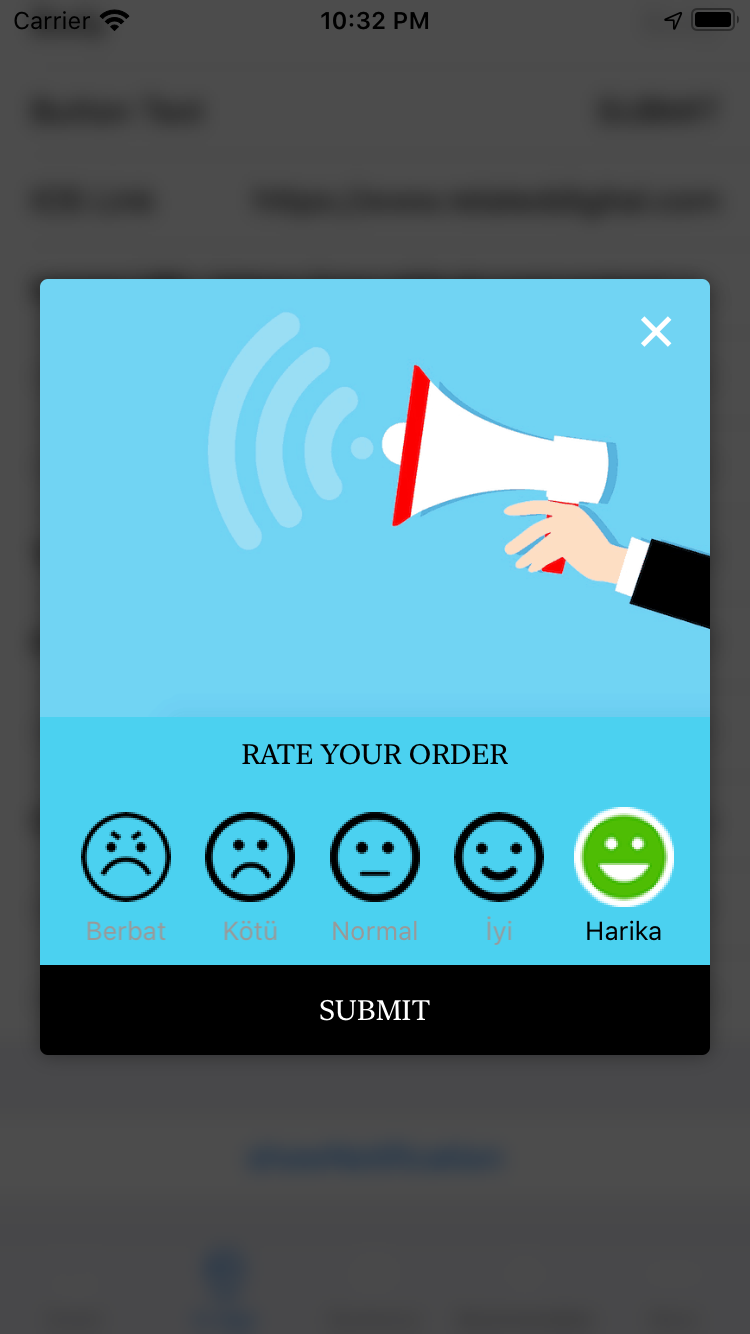 |
| 弹出窗口 - NPS 带文本 & 按钮 | 原生警报 & 操作表 | NPS 带数字 |
 |
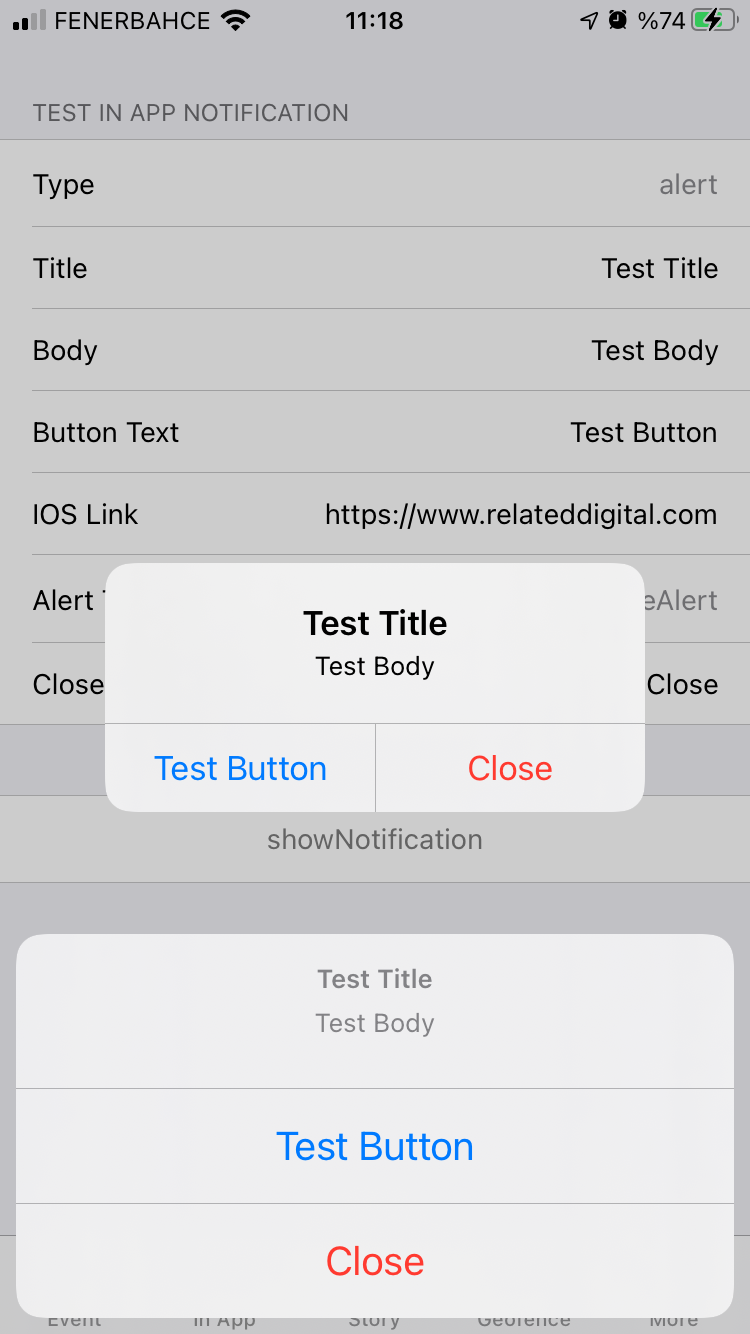 |
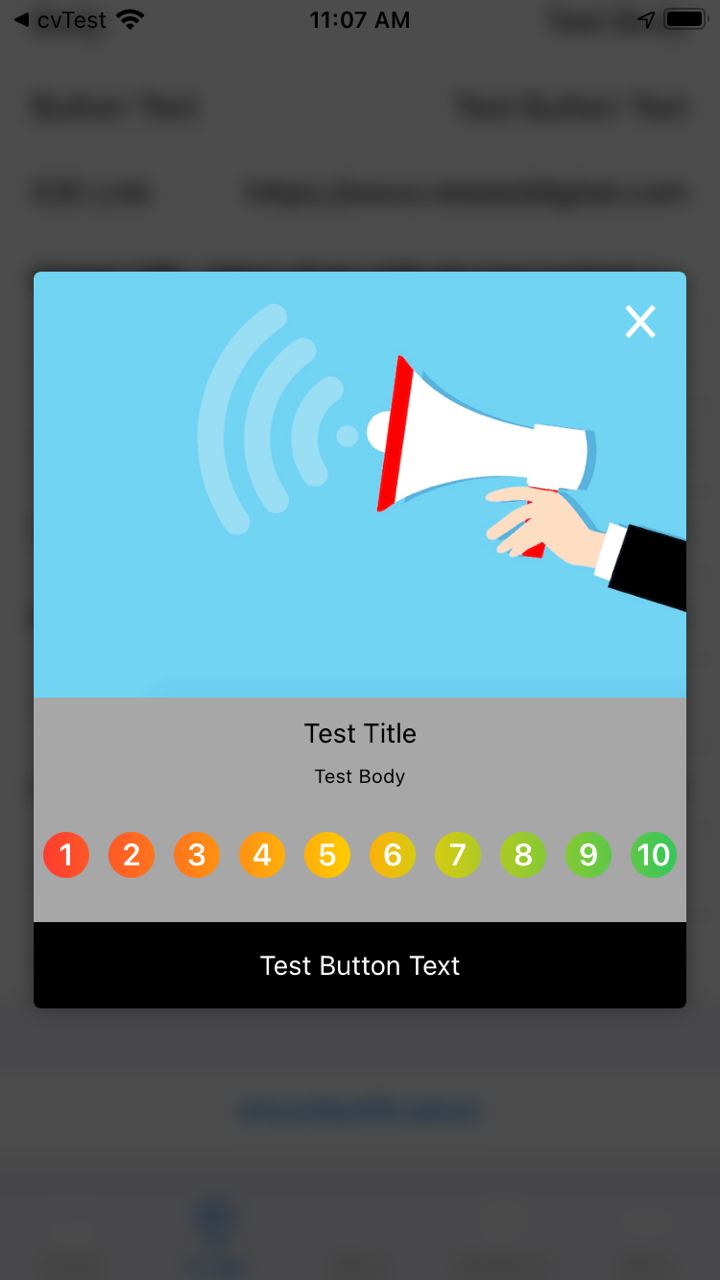 |
地理围栏
iOS
- 在 Xcode 中,将 NSLocationAlwaysAndWhenInUseUsageDescription 和 NSLocationWhenInUseUsageDescription 键添加到 Info.plist 文件中。
- 在 Xcode 中,启用 **后台获取** 和 **位置更新** 后台模式。
- 初始化插件时,将 geofenceEnabled 设置为 true。同时为 maxGeofenceCount 参数提供一个数字(最多支持 20 个)。
Android
- 在您的 AndroidManifest.xml 文件中添加以下权限
<uses-permission android:name="android.permission.ACCESS_FINE_LOCATION"/>
<uses-permission android:name="android.permission.ACCESS_COARSE_LOCATION" />
<uses-permission android:name="android.permission.ACCESS_BACKGROUND_LOCATION" />
- 在您的 AndroidManifest.xml 文件中添加以下服务和接收器
<service android:name="com.visilabs.android.gps.geofence.GeofenceTransitionsIntentService"
    android:enabled="true"
    android:permission="android.permission.BIND_JOB_SERVICE" />

<receiver android:name="com.visilabs.android.gps.geofence.VisilabsAlarm" android:exported="false"/>

<receiver
    android:name="com.visilabs.android.gps.geofence.GeofenceBroadcastReceiver"
    android:enabled="true"
    android:exported="true"/>
推荐
使用 getRecommendations 方法(如下所示)来检索产品推荐。此方法接受必需的 zoneId 和 productCode 参数,以及可选的 filters 参数。
import 'package:relateddigital_flutter/recommendation_filter.dart';

Future<void> getRecommendations() async {
  String zoneId = '6';
  String productCode = '';

  // optional
  Map<String, Object> filter = {
    RDRecommendationFilter.attribute: RDRecommendationFilterAttribute.PRODUCTNAME,
    RDRecommendationFilter.filterType: RDRecommendationFilterType.like,
    RDRecommendationFilter.value: null
  };

  List filters = [
    filter
  ];

  List result = await widget.relatedDigitalPlugin.getRecommendations(zoneId, productCode);
  // List result = await relatedDigitalPlugin.getRecommendations(zoneId, productCode, filters: filters);
  print(result.toString());
}
应用跟踪
(仅限 Android)
使用 sendTheListOfAppsInstalled 方法来跟踪 Android 设备上的已安装应用。
await widget.relatedDigitalPlugin.sendTheListOfAppsInstalled();
在您的 AndroidManifest.xml 文件中添加以下部分之一,以便使用此功能。
选项 1
<manifest package="com.example.myApp">
    <queries>
        <package android:name="com.example.app1" />
        <package android:name="com.example.app2" />
    </queries>
</manifest>
选项 2
<uses-permission android:name="android.permission.QUERY_ALL_PACKAGES"
tools:ignore="QueryAllPackagesPermission" />


