
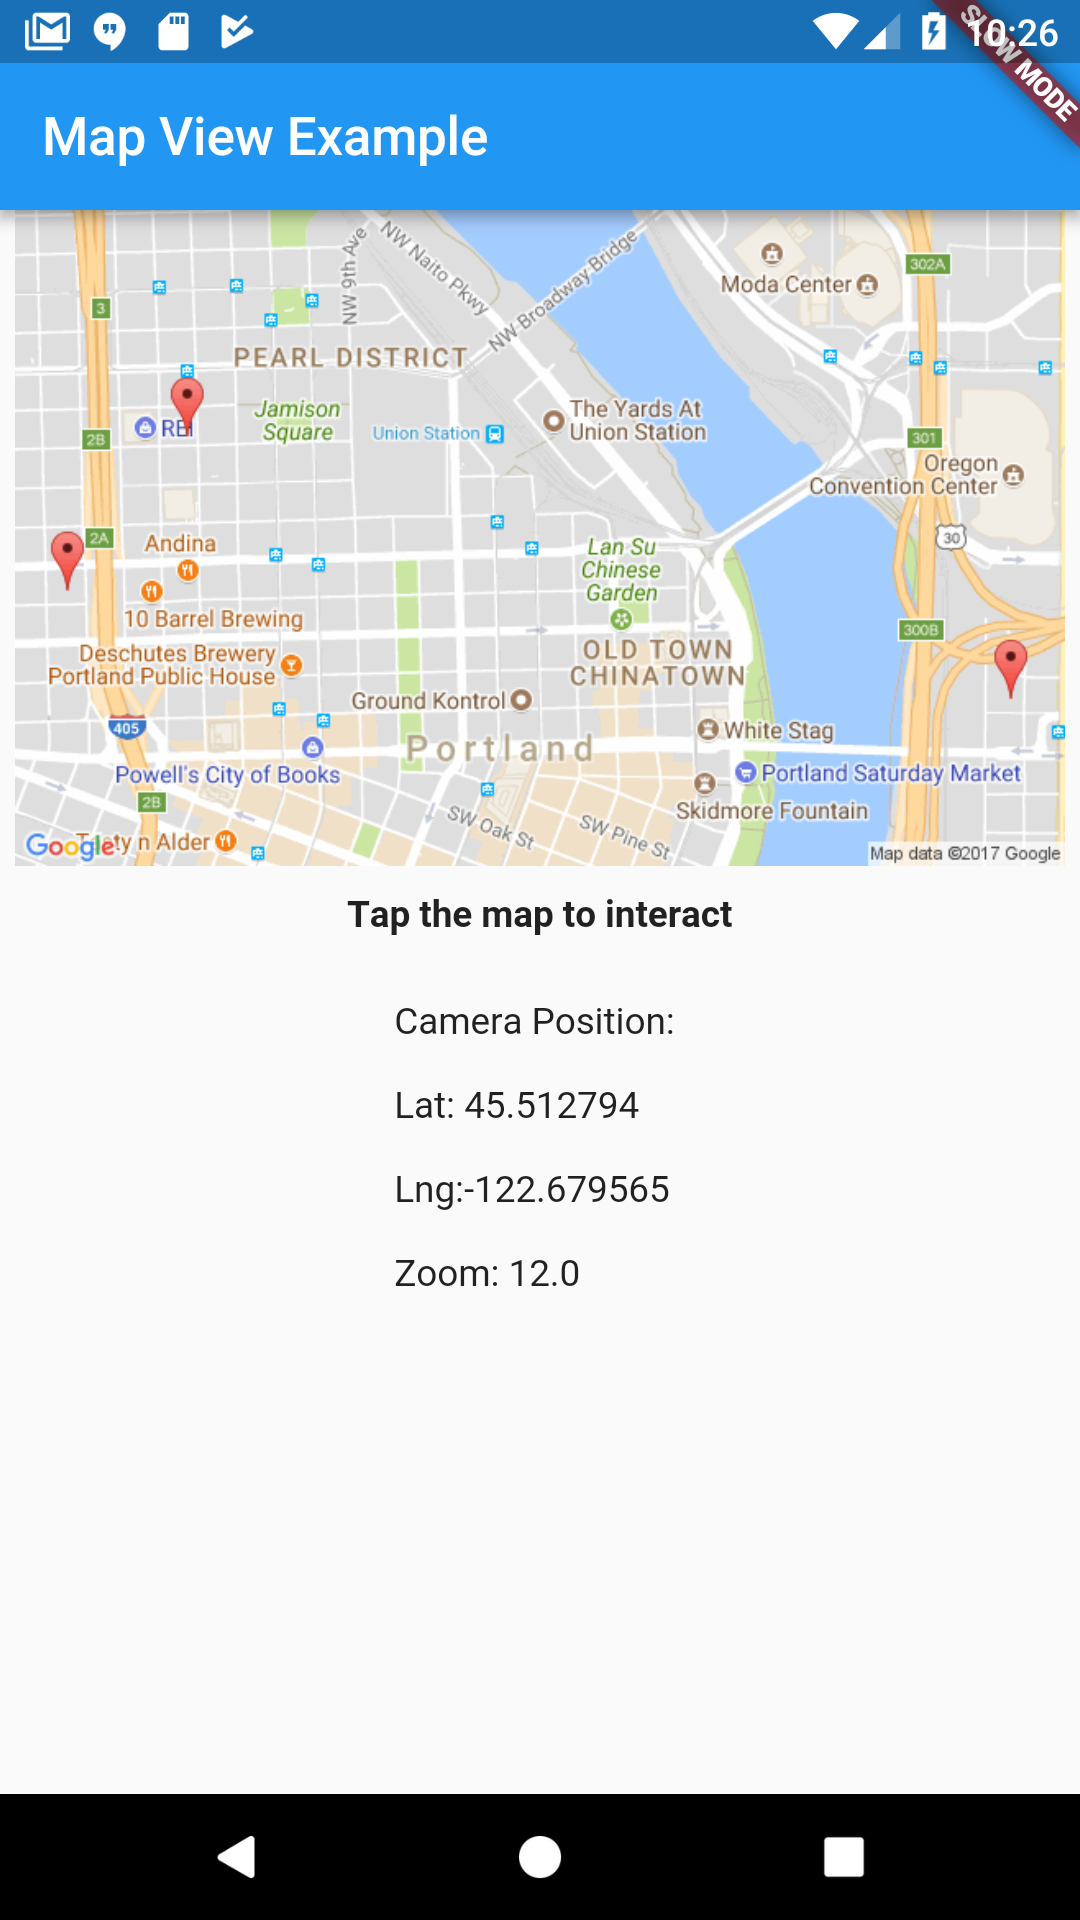
地图视图
Google 地图的 Flutter 插件
一个用于在 iOS 和 Android 上显示 Google 地图的 Flutter 插件
请注意:随着我们继续开发此插件,API 可能会发生更改。
入门
生成您的 API 密钥
- 前往:https://console.developers.google.com/
- 启用
Maps SDK for Android - 启用
Maps SDK for iOS - 在
凭据下,选择创建凭据。- 注意:在开发过程中,您可以创建一个无限制的 API 密钥,该密钥可用于 iOS 和 Android。
对于生产环境,强烈建议您进行限制。
- 注意:在开发过程中,您可以创建一个无限制的 API 密钥,该密钥可用于 iOS 和 Android。
- 有关 Android 的更详细说明,请访问此处:https://developers.google.com/maps/documentation/android-sdk/signup
- 有关 iOS 的更详细说明,请访问此处:https://developers.google.com/maps/documentation/ios-sdk/get-api-key
您注册 API 密钥的方式在 iOS 和 Android 上有所不同。请务必仔细阅读下一节。
iOS
Maps 插件将在需要时请求用户的位置。iOS 要求您在 Info.plist 文件中说明此用法
- 将 NSLocationWhenInUseUsageDescription 设置在
ios/Runner/Info.plist中。示例
    <key>NSLocationWhenInUseUsageDescription</key>
    <string>Using location to display on a map</string>
- 在使用 Maps 插件之前,您必须调用 MapView.setApiKey(String apiKey)。示例
   import 'package:map_view/map_view.dart';

   void main() {
     MapView.setApiKey("<your_api_key>");
     runApp(new MyApp());
   }
注意:如果您的 iOS 和 Android API 密钥不同,请确保在此处使用您的 iOS API 密钥。
-
添加代码以显示 MapView。
//Create an instance variable for the mapView var _mapView = new MapView(); //Add a method to call to show the map. void showMap() { _mapView.show(new MapOptions(showUserLocation: true)); } -
在 iOS 设备或模拟器上运行您的应用程序。
确认显示地图时可以看到地图细节。
如果您只看到一个米色屏幕,则可能是您的 API 密钥不正确。当您的 API
密钥不正确时,您会在控制台中看到类似这样的消息
ClientParametersRequest failed, 7 attempts remaining (0 vs 12). Error Domain=com.google.HTTPStatus Code=400 "(null)" UserInfo={data=<>}
iOS 常见的 API 密钥问题
-
您的 Bundle ID 与在 Google API Console 中注册的不匹配。
当您在 Google API Console 中创建受限制的 API 密钥时,它会要求您指定您的 iOS Bundle ID。
确保您的 iOS Bundle Identifier 与您在控制台中注册的标识符匹配。 -
使用错误的密钥。如果您为 iOS 和 Android 制作了单独的密钥,
请确保您在 MapView.setApiKey() 调用中使用的是 iOS 密钥。
Android
您将多次编辑 AndroidManifest.xml 文件。在您的 Flutter 项目中,您
可以在 android/app/src/main 下找到此文件位置
-
在您的
AndroidManifest.xml中,在上添加以下 uses-permission标签。 <uses-permission android:name="android.permission.ACCESS_FINE_LOCATION"/> <uses-permission android:name="android.permission.ACCESS_COARSE_LOCATION"/> -
在您的 AndroidManifest.xml 中,在
application标签内添加以下行。请务必将your_api_key替换为您生成的密钥。<meta-data android:name="com.google.android.maps.v2.API_KEY" android:value="your_api_key"/> <meta-data android:name="com.google.android.gms.version" android:value="@integer/google_play_services_version"/> -
将 MapActivity 添加到您的 AndroidManifest.xml
<activity android:name="com.apptreesoftware.mapview.MapActivity" android:theme="@style/Theme.AppCompat.Light.DarkActionBar"/> -
在您的
android/build.gradle文件中。在buildScriptdependencies下添加classpath 'org.jetbrains.kotlin:kotlin-gradle-plugin:1.1.2-4' -
在 Android 设备或模拟器上运行您的应用程序。
确认显示地图时可以看到地图细节。
如果您只看到一个米色屏幕,则可能是您的 API 密钥不正确。
用于内联显示的静态地图
此插件目前不支持在
Flutter widget 层次结构中显示 Google Map。一个常见的解决方法是使用
Google Static Maps API.
此插件包含 StaticMapProvider 类,该类允许您轻松生成
静态地图。Static Maps API 也需要 API 密钥,并且您必须在 Google API Console 中启用该 API。
- 前往:https://console.developers.google.com/
- 启用
Maps Static API - 启用后,您可以使用为 iOS/Android 生成的相同 API 密钥。
- 初始化 StaticMapProvider
var provider = new StaticMapProvider('your_api_key'); - StaticMapProvider 提供了几个不同的 API 来生成静态地图。如果您
想为全屏交互式地图的当前视图生成图像
您可以使用
var uri = staticMapProvider.getImageUriFromMap(mapView,
                  width: 900, height: 400);
如果您在执行这些步骤时遇到任何问题,可以参考 示例 项目。
|

|
功能
- [X] iOS 支持
- [X] Android 支持
- [X] 工具栏支持
- [X] 更新相机位置
- [X] 添加地图图钉
- [X] 接收地图图钉触摸回调
- [X] 接收地图触摸回调
- [X] 接收位置更改回调
- [X] 接收相机更改回调
- [X] 缩放至一组注释
- [X] 自定义图钉颜色
- [X] Polyline 支持
- [X] Polygon 支持
- [X] 自定义图钉图像
- [X] 删除标记、折线和多边形。
即将推出
- [ ] 边界几何函数
用法示例
显示地图(带工具栏)
mapView.show(
        new MapOptions(
            mapViewType: MapViewType.normal,
            showUserLocation: true,
            initialCameraPosition: new CameraPosition(
                new Location(45.5235258, -122.6732493), 14.0),
            title: "Recently Visited"),
        toolbarActions: [new ToolbarAction("Close", 1)]);
获取地图就绪通知
mapView.onMapReady.listen((_) {
  print("Map ready");
});
向地图添加多个图钉
mapView.setMarkers(<Marker>[
    new Marker("1", "Work", 45.523970, -122.663081, color: Colors.blue),
    new Marker("2", "Nossa Familia Coffee", 45.528788, -122.684633),
]);
向地图添加单个图钉
mapView.addMarker(new Marker("3", "10 Barrel", 45.5259467, -122.687747,
        color: Colors.purple));
编辑自定义标记图像
首先将您的资产添加到项目目录中的一个文件夹。文件夹的名称可以是任何名称,但“images”或“assets”是最常见的。
它看起来应该像这样。
- project_name
    |-android
    |-images
        |-flower_vase.png
    |-ios
    |-lib
    # Rest of project folders and files
然后将资产添加到 pubspec.yaml 中 flutter 标签下。
flutter:
    # Code already existent

    # Added asset.
    assets:
        - images/flower_vase.png
最后使用资产名称作为标记的图标。如果宽度或高度未设置或等于 0,将使用图像的原始值。
new Marker(
      "1",
      "Something fragile!",
      45.52480841512737,
      -122.66201455146073,
      color: Colors.blue,
      draggable: true, //Allows the user to move the marker.
      markerIcon: new MarkerIcon(
        "images/flower_vase.png", //Asset to be used as icon
        width: 112.0, //New width for the asset
        height: 75.0, // New height for the asset
      ),
    );
设置可拖动的标记并监听位置更改
首先将标记的 draggable 属性设置为 true。
Marker marker=new Marker(
      "1",
      "Something fragile!",
      45.52480841512737,
      -122.66201455146073,
      draggable: true, //Allows the user to move the marker.
    );
现在添加事件的监听器。
// This listener fires when the marker is long pressed and could be moved.
mapView.onAnnotationDragStart.listen((markerMap) {
      var marker = markerMap.keys.first;
      var location = markerMap[marker]; // The original location of the marker before moving it. Use it if needed.
      print("Annotation ${marker.id} dragging started");
    });
// This listener fires when the user releases the marker.
mapView.onAnnotationDragEnd.listen((markerMap) {
      var marker = markerMap.keys.first;
      var location = markerMap[marker]; // The actual position of the marker after finishing the dragging.
      print("Annotation ${marker.id} dragging ended");
    });
// This listener fires every time the marker changes position.
mapView.onAnnotationDrag.listen((markerMap) {
      var marker = markerMap.keys.first;
      var location = markerMap[marker]; // The updated position of the marker.
      print("Annotation ${marker.id} moved to ${location.latitude} , ${location
          .longitude}");
    });
向地图添加单个折线
mapView.addPolyline(new Polyline(
          "12",
          <Location>[
            new Location(45.519698, -122.674932),
            new Location(45.516687, -122.667014),
          ],
          width: 15.0));
向地图添加多个折线
mapView.setPolylines(<Polyline>[
        new Polyline(
          "11",
          <Location>[
            new Location(45.523970, -122.663081),
            new Location(45.528788, -122.684633),
            new Location(45.528864, -122.667195),
          ],
          jointType: FigureJointType.round,
          width: 15.0,
          color: Colors.orangeAccent,
        ),
        new Polyline(
          "12",
          <Location>[
            new Location(45.519698, -122.674932),
            new Location(45.516687, -122.667014),
          ],
          width: 15.0,
        ),
      ]);
向地图添加单个多边形
mapView.addPolygon(new Polygon(
                                 "111",
                                 <Location>[
                                   new Location(45.5231233, -122.6733130),
                                   new Location(45.5233225, -122.6732969),
                                   new Location(45.5232398, -122.6733506),
                                   new Location(45.5231233, -122.6733130),
                                 ],
                                 jointType: FigureJointType.round,
                                 strokeWidth: 5.0,
                                 strokeColor: Colors.red,
                                 fillColor: Color.fromARGB(75, 255, 0, 0),
                                 ));
向地图添加多个多边形
 mapView.setPolygons(<Polygon>[
        new Polygon(
            "111",
            <Location>[
              new Location(42.9274334, -72.2811234),
              new Location(42.9258230, -72.2808444),
              new Location(42.9261294, -72.2779906),
              new Location(42.9275120, -72.2779155),
            ],
            //you can add a hole inside the polygon
            holes: <Hole>[
              new Hole(
                <Location>[
                  new Location(42.9270721, -72.2797287),
                  new Location(42.9266400, -72.2796750),
                  new Location(42.9267186, -72.2790956),
                  new Location(42.9270014, -72.2790956),
                ],
              ),
            ],
            jointType: FigureJointType.round,
            strokeWidth: 5.0,
            strokeColor: Colors.red,
            fillColor: Color.fromARGB(75, 255, 0, 0)),
        new Polygon(
            "111",
            <Location>[
              new Location(45.5231233, -122.6733130),
              new Location(45.5233225, -122.6732969),
              new Location(45.5232398, -122.6733506),
              new Location(45.5231233, -122.6733130),
            ],
            jointType: FigureJointType.round,
            strokeWidth: 5.0,
            strokeColor: Colors.red,
            fillColor: Color.fromARGB(75, 255, 0, 0)),
      ]);
从地图中删除元素
//Remove all markers
mapView.clearA
缩放以适应地图上的所有图钉
mapView.zoomToFit(padding: 100);
接收用户当前位置的位置更新
mapView.onLocationUpdated
     .listen((location) => print("Location updated $location"));
接收标记、折线和多边形触摸事件
//Marker
mapView.onTouchAnnotation.listen((annotation) => print("annotation ${annotation.id} tapped"));
//Polyline
mapView.onTouchPolyline.listen((polyline) => print("polyline ${polyline.id} tapped"));
//Polygon
mapView.onTouchPolygon.listen((polygon) => print("polygon ${polygon.id} tapped"));
接收地图触摸事件
mapView.onMapTapped
     .listen((location) => print("Touched location $location"));
mapView.onMapLongTapped
     .listen((location) => print("Long tapped location $location"));
接收室内建筑和室内楼层信息
mapView.onIndoorBuildingActivated.listen(
        (indoorBuilding) => print("Activated indoor building $indoorBuilding"));
mapView.onIndoorLevelActivated.listen(
    (indoorLevel) => print("Activated indoor level $indoorLevel"));
接收相机更改更新
mapView.onCameraChanged.listen((cameraPosition) =>
     this.setState(() => this.cameraPosition = cameraPosition));
接收工具栏操作
mapView.onToolbarAction.listen((id) {
  if (id == 1) {
    _handleDismiss();
    }
});
获取当前缩放级别
double zoomLevel = await mapView.zoomLevel;
获取地图中心位置
Location centerLocation = await mapView.centerLocation;
获取屏幕上可见的标记
List<Marker> visibleAnnotations = await mapView.visibleAnnotations;


